
I was hanging out with my mom (Hi mom!) and I told her I wanted to bake something with her so I could feature her as a guest chef. :) So we were thinking of something to bake and she mentioned she had a lot of raspberries. I LOVE dark chocolate raspberry truffles from See's Candies--to die for--so I figured we could do something with raspberries and dark chocolate. We both aren't big cupcake or cake fans so we decided to go with brownies. We did a Google search and found this recipe which we slightly adapted to fit our ingredients on hand. We made a couple heart shaped brownies as well as some in a 8x8 pan to be cut into squares. We were at my mom's house so we used her heart shaped pans, not sure where she got them from. I have 4 of the Wilton 4-Inch Heart Springform Pans

Ingredients
Chocolate Raspberry Brownies
- 1 cup chocolate chips or chunks (we used Ghiradelli dark chocolate (60% cocoa) chunks but you could use semi-sweet chocolate chips or chunks as well, just depends on your chocolate preference)
- 1 1/4 cups all-purposeflour
- 1/2 teaspoonbaking powder
- 1/2 teaspoon salt
- 1 cup granulatedsugar
- 1/3 cup (2/3stick) butter, softened (since this was short notice, we had to cheat and use the microwave to soften the butter--just don't melt it completely.)
- 1 teaspoon vanillaextract
- 2 large eggs
- 1/3 cup freshraspberries, mashed (I prepped the raspberries ahead of time and ended up having to drain some of the juice before I added them to the mixture.)
Raspberry Mousse
- 1 pkg. (8 oz.) cream cheese, softened
- 3/4 cup powderedsugar
- 3/4 cup mini chocolate chips or chopped chocolate chunks (we happened to have semi-sweet mini chocolate chips on hand, or else we could have chopped up the chunks we used for the brownie mix)
- 1/2 teaspoonvanilla extract
- 1/4 cup freshraspberries, mashed, drained
- 1/3 cup heavy whippingcream


Preparation
Chocolate Raspberry Brownies

Mom says: "We lined our 8x8 pan with foil so it would be easier to remove from the pan and cut into squares. Just make sure to grease your foil really well."
 2) Rinse and drain your fresh raspberries.

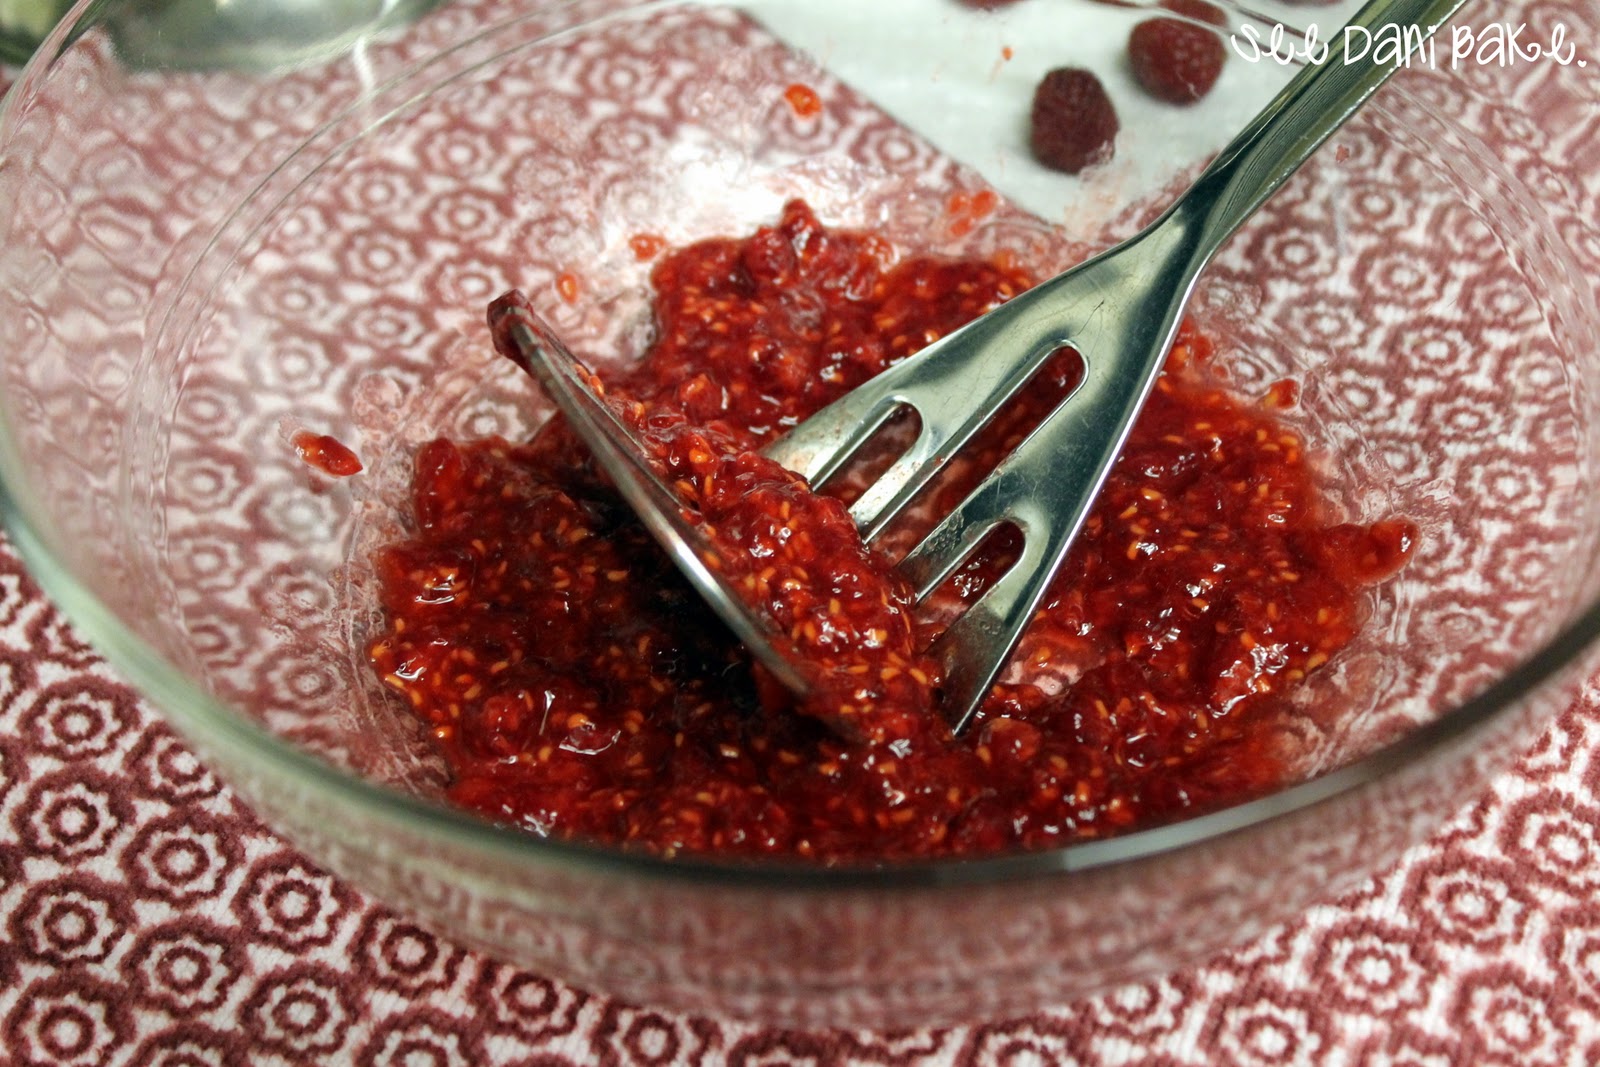
 3) Mash the raspberries using a potato masher or something similar.
 4) Microwave 1 cup chunks in small, uncovered, microwave-safebowl on high (100%) power for 30 seconds. Stir. Microwave at additional 10- to 15-secondintervals, stir until smooth; cool to room temperature.
Mom says: "You have to heat it in no more than 30 second intervals and stir in between to melt the chocolate without overcooking it. It'll get grainy if you overcook it."
5. Combine flour, baking powder and salt in small bowl.
 6. Beatgranulated sugar, butter and vanilla extract with your stand mixer or a hand mixer in a medium mixing bowl until creamy.Add the eggs. Beat the mixture until light and fluffy.
Mom says: "Break the eggs in a separate bowl just in case you happen to get a bad egg so you won't mess up your entire batter."
 7. Next beat in melted chocolate. (Depending on how fast you are at getting your ingredients together you might have to stick it in the microwave again for 10 seconds to make sure it is still melted.)
 8. Stir in flourmixture little by little until blended.

9. Stir in mashed raspberries. (I drained the mashed raspberries at this time since some of the juice was collecting.)

 10. Spread into prepared bakingpan. (I used a rubber spatula and the back of a spoon to spread the batter as it is too thick and sticky to just pour. This was probably the most difficult part of the whole process.)
 11. Bake for 25 to 30 minutes or until wooden pick inserted incenter comes out slightly sticky. Cool completely in pan on wire rack. (Since we used the heart pans as well as the 8x8 we only baked for about 15 minutes and they were completely baked. And honestly we were too eager to eat these bad boys that we didn't let them cool completely before putting on the mousse. We put them on wire racks for like 15 minutes to cool.)


 1. Beat whipping cream in stand mixer or with hand mixer in a small mixing bowl until stiff peaks form. Transfer whipped cream to another clean bowl and set aside.
<-- my mom whipping the cream :)

 2. Beatcream cheese, powdered sugar, vanilla extract in stand mixer (we didn't bother to wash after whipping the cream) or using the hand mixer in a separate mixing bowl until creamy.

3. Fold in mashed raspberries and choppedchocolate morsels.

4. Fold whipped creaminto raspberry cream cheese mixture until blended.

5. Spread mousse over cooledbrownie and garnish with fresh raspberries.

 6. Refrigerate for 1 hour. (We again were not patient and only refrigerated the small heart pans for about 15 minutes again before we plated the brownies for pictures. But the 8x8 pan stayed in overnight.)
7. Run a sharp knife around the edges of the heart pans and pop out. (If using a 9 inch pan without foil lining, repeat this process. If lined with foil, no need to run a knife around the edges, simply pull the foil out of the pan and fold it down in order to cut the brownies into bars.)
Enjoy!!


Me and my mommy. :)


 4) Microwave 1 cup chunks in small, uncovered, microwave-safebowl on high (100%) power for 30 seconds. Stir. Microwave at additional 10- to 15-secondintervals, stir until smooth; cool to room temperature.
 Mom says: "You have to heat it in no more than 30 second intervals and stir in between to melt the chocolate without overcooking it. It'll get grainy if you overcook it."
5. Combine flour, baking powder and salt in small bowl.
 6. Beatgranulated sugar, butter and vanilla extract with your stand mixer or a hand mixer in a medium mixing bowl until creamy.Add the eggs. Beat the mixture until light and fluffy.
 Mom says: "Break the eggs in a separate bowl just in case you happen to get a bad egg so you won't mess up your entire batter."

 8. Stir in flourmixture little by little until blended.
9. Stir in mashed raspberries. (I drained the mashed raspberries at this time since some of the juice was collecting.)

 10. Spread into prepared bakingpan. (I used a rubber spatula and the back of a spoon to spread the batter as it is too thick and sticky to just pour. This was probably the most difficult part of the whole process.)
  11. Bake for 25 to 30 minutes or until wooden pick inserted incenter comes out slightly sticky. Cool completely in pan on wire rack. (Since we used the heart pans as well as the 8x8 we only baked for about 15 minutes and they were completely baked. And honestly we were too eager to eat these bad boys that we didn't let them cool completely before putting on the mousse. We put them on wire racks for like 15 minutes to cool.)
Raspberry Mousse

 1. Beat whipping cream in stand mixer or with hand mixer in a small mixing bowl until stiff peaks form. Transfer whipped cream to another clean bowl and set aside.
<-- my mom whipping the cream :)

 2. Beatcream cheese, powdered sugar, vanilla extract in stand mixer (we didn't bother to wash after whipping the cream) or using the hand mixer in a separate mixing bowl until creamy.
3. Fold in mashed raspberries and choppedchocolate morsels.

4. Fold whipped creaminto raspberry cream cheese mixture until blended.

5. Spread mousse over cooledbrownie and garnish with fresh raspberries.

 6. Refrigerate for 1 hour. (We again were not patient and only refrigerated the small heart pans for about 15 minutes again before we plated the brownies for pictures. But the 8x8 pan stayed in overnight.)
7. Run a sharp knife around the edges of the heart pans and pop out. (If using a 9 inch pan without foil lining, repeat this process. If lined with foil, no need to run a knife around the edges, simply pull the foil out of the pan and fold it down in order to cut the brownies into bars.)
Enjoy!!


Me and my mommy. :)


.JPG)


